
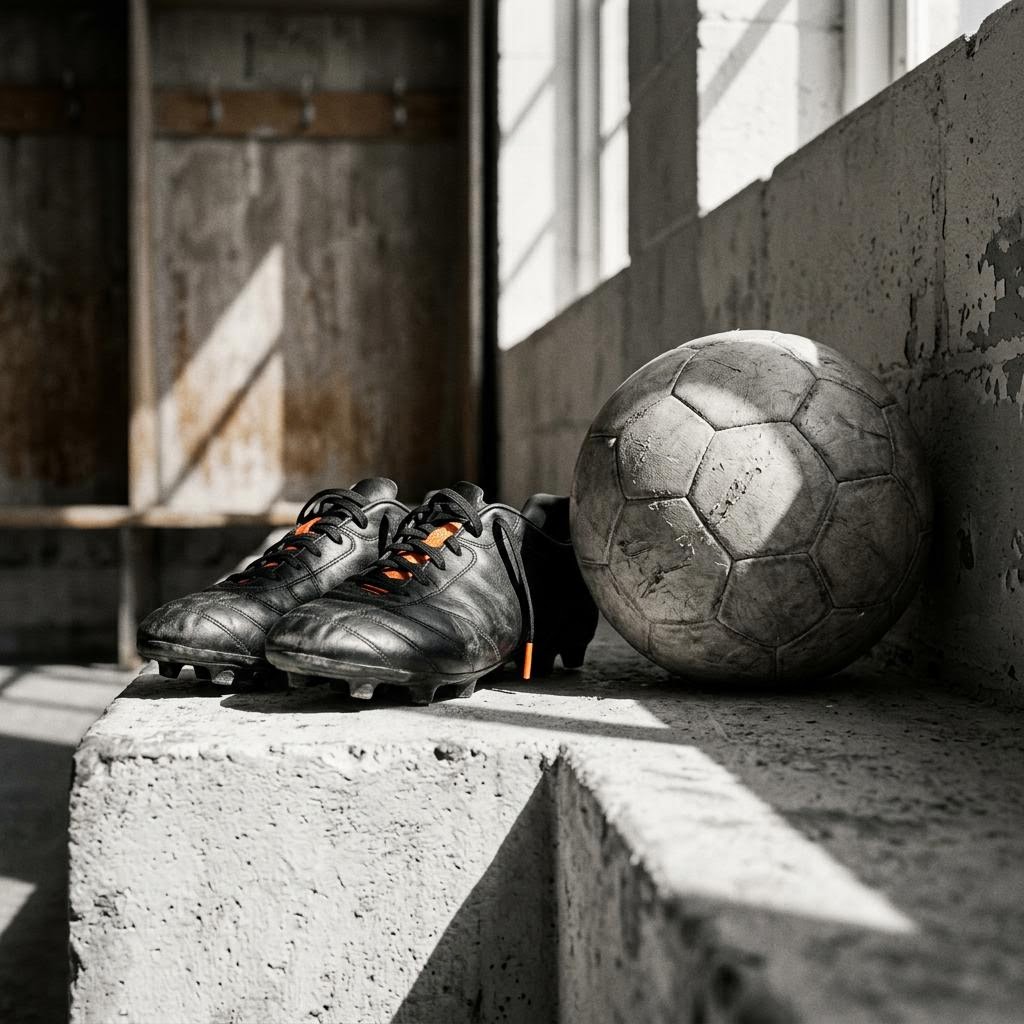
A cleat can look fast on a shelf and still feel wrong by halftime. Start with the foot and the field, not a player's favorite colorway.
01 / Start with the surface
Check where the player actually trains and competes most often. Firm-ground studs are designed for natural grass; artificial-grass patterns spread pressure across more, shorter studs. Turf shoes use small rubber nubs, while indoor shoes have flat soles. A coach or facility can help confirm footwear rules and surface type.
Avoid using a long-stud grass cleat on hard turf or an indoor court. Traction that is wrong for the surface can feel uncomfortable and may increase the chance of slipping or catching unexpectedly. If the schedule spans surfaces, choose for the most-used field first and consider whether a second, surface-appropriate pair is practical.
02 / Fit should be comfortable now
Try cleats on with the socks and shin guards used for games, ideally later in the day when feet may be slightly larger. The heel should stay secure as the player jogs and changes direction. Toes need a little room without sliding forward; the sides should not pinch or create numbness.
Youth feet change quickly, but buying dramatically oversized cleats creates a different problem: unstable movement and friction. If a player needs a painful break-in to tolerate a pair, try another shape or size instead. Bring both feet into the decision—one foot is often slightly larger.
03 / Position is a preference, not a prescription
Marketing may assign boots to strikers or defenders, but position alone rarely answers the fit question. A comfortable player who can plant, turn and feel the ball has a stronger starting point than one wearing a position-labeled shoe that rubs.
Ask the player to describe the touch they like: thin and close to the ball, or more padded. Then ask how the upper feels after a few minutes of movement. Confidence matters, but it should not override comfort.
04 / Spend against actual use
Higher prices can bring lighter materials or different construction, but not necessarily a better fit for a growing player. Compare the soleplate, upper feel and return policy across price tiers. For a first season or a rapidly growing foot, durability and correct sizing may matter more than a top-tier model.
Before checkout, confirm the return policy for shoes tried indoors. Keep the receipt until the player has walked, jogged and made a few cuts on a clean surface. The right pair is the one that fits the player and their weekly field—not the one with the loudest launch.
05 / Run a real try-on
A cleat should be tested through the movements that matter to the player, not only while standing in front of a mirror. Use the socks worn for soccer and try both feet. Walk, jog, stop, make a controlled change of direction and, where a shop permits it, touch or pass a ball. Notice heel lift, toe slide, lace pressure and any spot that starts to feel hot.
Ask the player for details rather than a simple yes or no. Is the pressure sharp or just unfamiliar? Does the foot stay centered when stopping? Can the player flex the toes without the heel moving? A new upper may feel different, but numbness, pinching or a player changing their stride are useful reasons to compare another shape. Follow the store's return rules and keep the pair clean until the decision is clear.
06 / Care is part of the fit
The way a cleat is stored affects how quickly the next problem appears. Shake out loose dirt, follow the manufacturer's cleaning instructions and let wet footwear dry naturally away from intense heat. Do not leave a damp pair sealed in a soccer bag for days. A parent can make a simple reset part of the player's routine: remove the pair, air it out and check the sole before the next session.
Look at the heel lining, studs, upper and soleplate at regular intervals. A young player may outgrow a pair before it wears out, while a heavily used pair may lose structure first. Replace a cleat when it no longer fits, stays secure or matches the surface—not because a new colorway arrived, and not because a calendar promises a universal lifespan.
07 / Make the decision together
The player can explain the feeling they want: close touch, softer padding, a flexible forefoot or a secure platform. The parent can compare surface rules, care needs, return terms, replacement timing and the total cost of the pair. Those are not competing opinions. They are two parts of the same decision.
Write down the non-negotiables before shopping: the primary field, the player’s current size, the weekly schedule and the budget range. Then compare only options that meet those basics. A confident choice is not necessarily the lightest, newest or most expensive. It is the pair the player can wear comfortably and the family can replace responsibly when the next change comes.
Recommended Youth Soccer Cleats
Start with the player’s fit and the actual field surface. The kids’ models below are separate from the adult-size options for older teens. These are catalog-based suggestions, not claims of hands-on testing or performance rankings.
As an Amazon Associate I earn from qualifying purchases. Affiliate disclosure: Soccer Family Guide may earn a commission when you purchase through links on our site, at no additional cost to you.
Checking the verified catalog for current purchase links. If JavaScript is unavailable, continue with the fit advice and the Cleats guide linked below.
Sizes, prices and availability can change. Check the exact model, size, color and return policy on Amazon before buying. More expensive cleats are not automatically a better fit for a growing foot.
Player check: Can I move comfortably? Parent check: Does this surface-appropriate pair fit now, at a sensible cost?